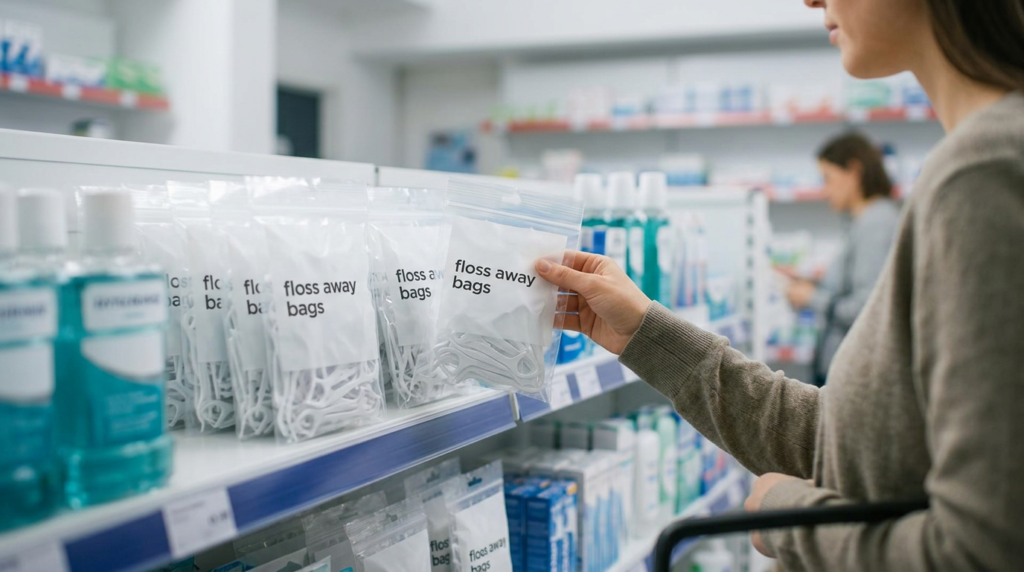
Quick answer: You can buy Floss Away bags at needlepoint shops and online needlework retailers. They’re small, sealable bags designed to organize leftover floss or thread by color number, project, or brand. Stitchers use them to prevent tangles, keep cut lengths clean, and avoid mixing similar shades. With clear labels and a simple ring or box system, they make projects easier to pause and resume.
What Floss Away Bags Do (and Why Stitchers Like Them)
Floss Away bags are small zip-style bags made for holding embroidery floss, needlepoint threads, and other small fibers. They shine when you’re juggling multiple colors or returning to a project after a break. Instead of loose skeins rolling around in a tote, each color gets its own home and stays clean, untangled, and easy to spot.
Most stitchers use them in a few common ways: storing leftover cut lengths, keeping a full skein with the color number visible, or grouping all threads for one canvas in a single ring or binder system. If you’re ready to restock, you can buy floss away bags and set up a simple organization routine in one sitting.
If you’re comparing options, look for bags that are roomy enough for your fiber type (thicker wool needs more space than stranded cotton), a zipper that closes smoothly, and plastic thick enough to resist splitting at the seam. If you plan to put them on rings, punch the hole above the zipper line so the seal stays intact; for box storage, hole placement matters less.
Floss Away Bags vs Bobbins, Thread Drops, and Regular Zip Bags
Floss Away bags are best when you want to keep thread clean and contained, especially for leftovers and specialty fibers that don’t love being wrapped tightly. They’re also great for travel because the zipper prevents strands from slipping out and tangling with tools.
Bobbins work well for stranded cotton you’re happy to wind flat, and they fit neatly in divided boxes. They’re less ideal for fuzzy or delicate fibers that can kink or shed when wound. Thread drops (tags on a ring) are great for active projects because you can park pre-cut lengths and grab them quickly, but they don’t protect against lint or accidental spills the way a sealed bag does. Regular small zip bags can work in a pinch, but they’re often flimsier, harder to label consistently, and not designed with ring storage in mind.
A simple rule of thumb: use bags for protection and leftovers, bobbins for compact long-term storage of sturdy floss, and drops for “currently stitching” speed.
How Many Bags to Get and How to Label Them
Plan your bag count based on how many distinct colors you expect to use. If a project calls for around 10–20 colors, you’ll likely want roughly 10–25 bags so each color gets its own space plus a couple extras for blends or backups. If you’re stitching a shaded or painterly canvas, it’s common to end up with dozens of colors, so having 50–100 bags on hand can keep you from combining similar shades “just temporarily.”
Labeling is what makes the system work. Write the brand and color number on the bag (permanent marker works well), and if you’re using hand-dyed threads, add the dye lot if it’s listed. For pre-cut lengths, some stitchers also note strand count (for example, “2 strands”) or the stitch type if a specialty stitch uses a specific fiber.
If you store bags on rings, punch a small hole above the zipper line so the seal stays intact. If you prefer boxes, stand the bags upright like files so you can flip through colors without dumping everything out.
A Quick 10-Minute Setup Checklist You Can Use Anywhere
Gather: a pack of Floss Away bags, a fine-tip permanent marker, one or two binder rings (or a small photo box), and a hole punch if you’re using rings. Optional add-ons include sticky labels (if you dislike marker on plastic) and a second ring for “in progress” versus “extras.”
Set up: write the brand + color number on each bag as you open your threads, then slide the skein or leftover lengths inside. If using rings, punch once above the zipper and add bags in numerical order; if using a box, file them upright so the labels face the same direction.
Maintain: keep one color per bag, don’t overstuff (split into a second bag if needed), and toss a tiny paper slip inside if you need to note strand count or where you left off. If you want local help picking the right storage approach for your fibers and stitching style, Blue Willow Needlepoint is a good place to ask questions.